x86_64 on Apple Silicon
This tutorial will show you how to create a virtual machine on your Mac Silicon, and how to connect to it with VS Code. After completing the tutorial, you will be able to compile your code with a x86_64 architecture on your Mac.
Prerequisites
- A Silicon Mac (M1/M2/M3)
- A minimum of 64 GB free disk space
Download UTM
UTM lets you virtualize and emulate any architecture on a Silicon Mac.
Download the latest UTM version: Download here
Note that there is a paid version of UTM on the App Store, identical to the one above except for automatic application updates.
Download a linux distribution for our VM
For this tutorial, we'll be using an Ubuntu Server image, on x86_64 architecture which is similar to the one used on EPITA computers. You can find the ISO image here.
You can choose the distribution you want, as long as you take a x86_64 architecture
Creating an emulated virtual machine
On UTM, click on the Create a new Virtual Machine button. Then Emulate, then Other.
You can then add (by clicking on Browse) your path to the ISO image you've just downloaded.
Click on Continue.
Setting up the virtual machine
-
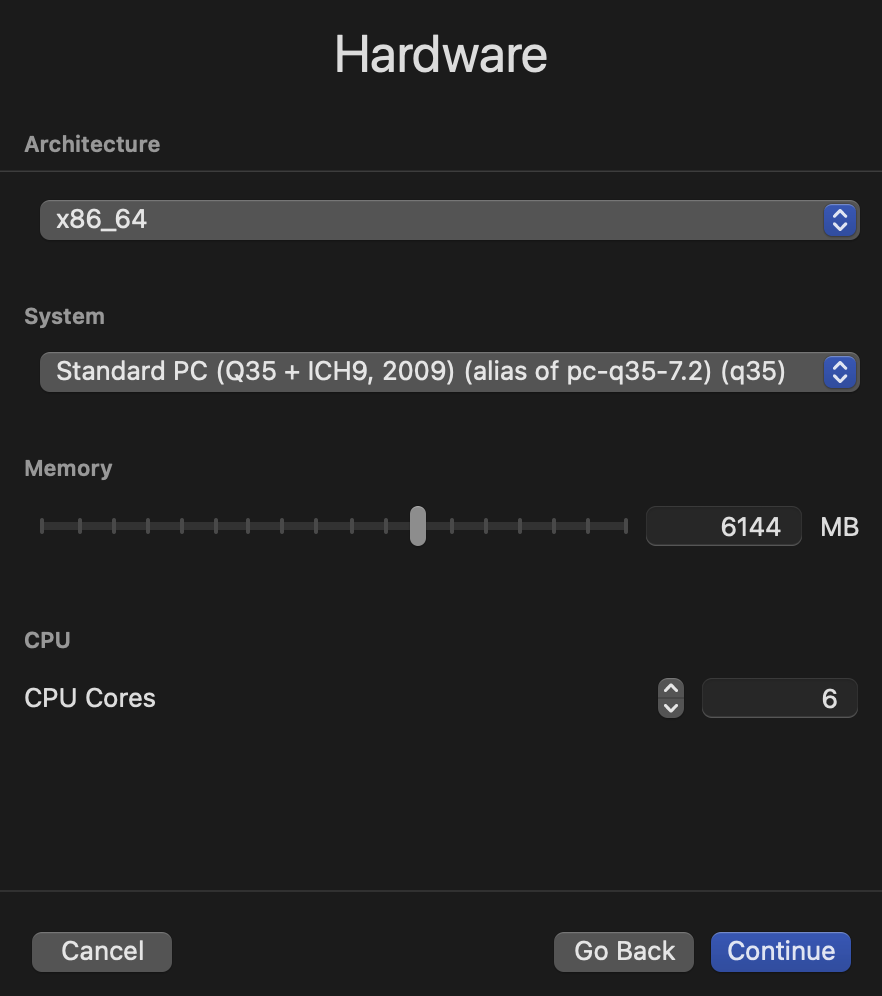
Check that you have selected
x86_64in theArchitecturedrop-down list. -
Leave
Systemas the default. -
You can then choose the amount of RAM you wish to allocate to your virtual machine. 6144 MB and 6 cores is recommended.

-
You can then specify the size allocated for your virtual machine. Select 64GB.
-
You can ignore the Shared Directory section.
-
On the summary, you can name the VM as you wish.
Virtual machine installation
- Launch your virtual machine.
Basic VM configuration
You should see a window open.
Use the TAB, Space and Enter keys to navigate the menu
- Take the first choice from the list.
Your VM should install with check [ OK ] on the left.
You should then see a window with different languages.
-
Choose a language.
-
Then, if an update is available, you can install it if you wish.
-
Next, select the right layout for your keyboard.
-
You'll be able to select the type of installation. Choose the first option
Ubuntu Server. -
You're now on the Network interface. Your network should be automatically selected. You can proceed.
-
Select next on the
Proxytab.
You are now on Ubuntu Archive Mirror. Wait for it to detect the archives.
- If you get no error, do next.
Advanced VM configuration
- Then you can choose the VM partitions. Do
Use entire disk. You should seelocal disk 64GB.
You can encrypt your disk if you wish.
-
Do next and
Continueon theStorage Configurationtab. -
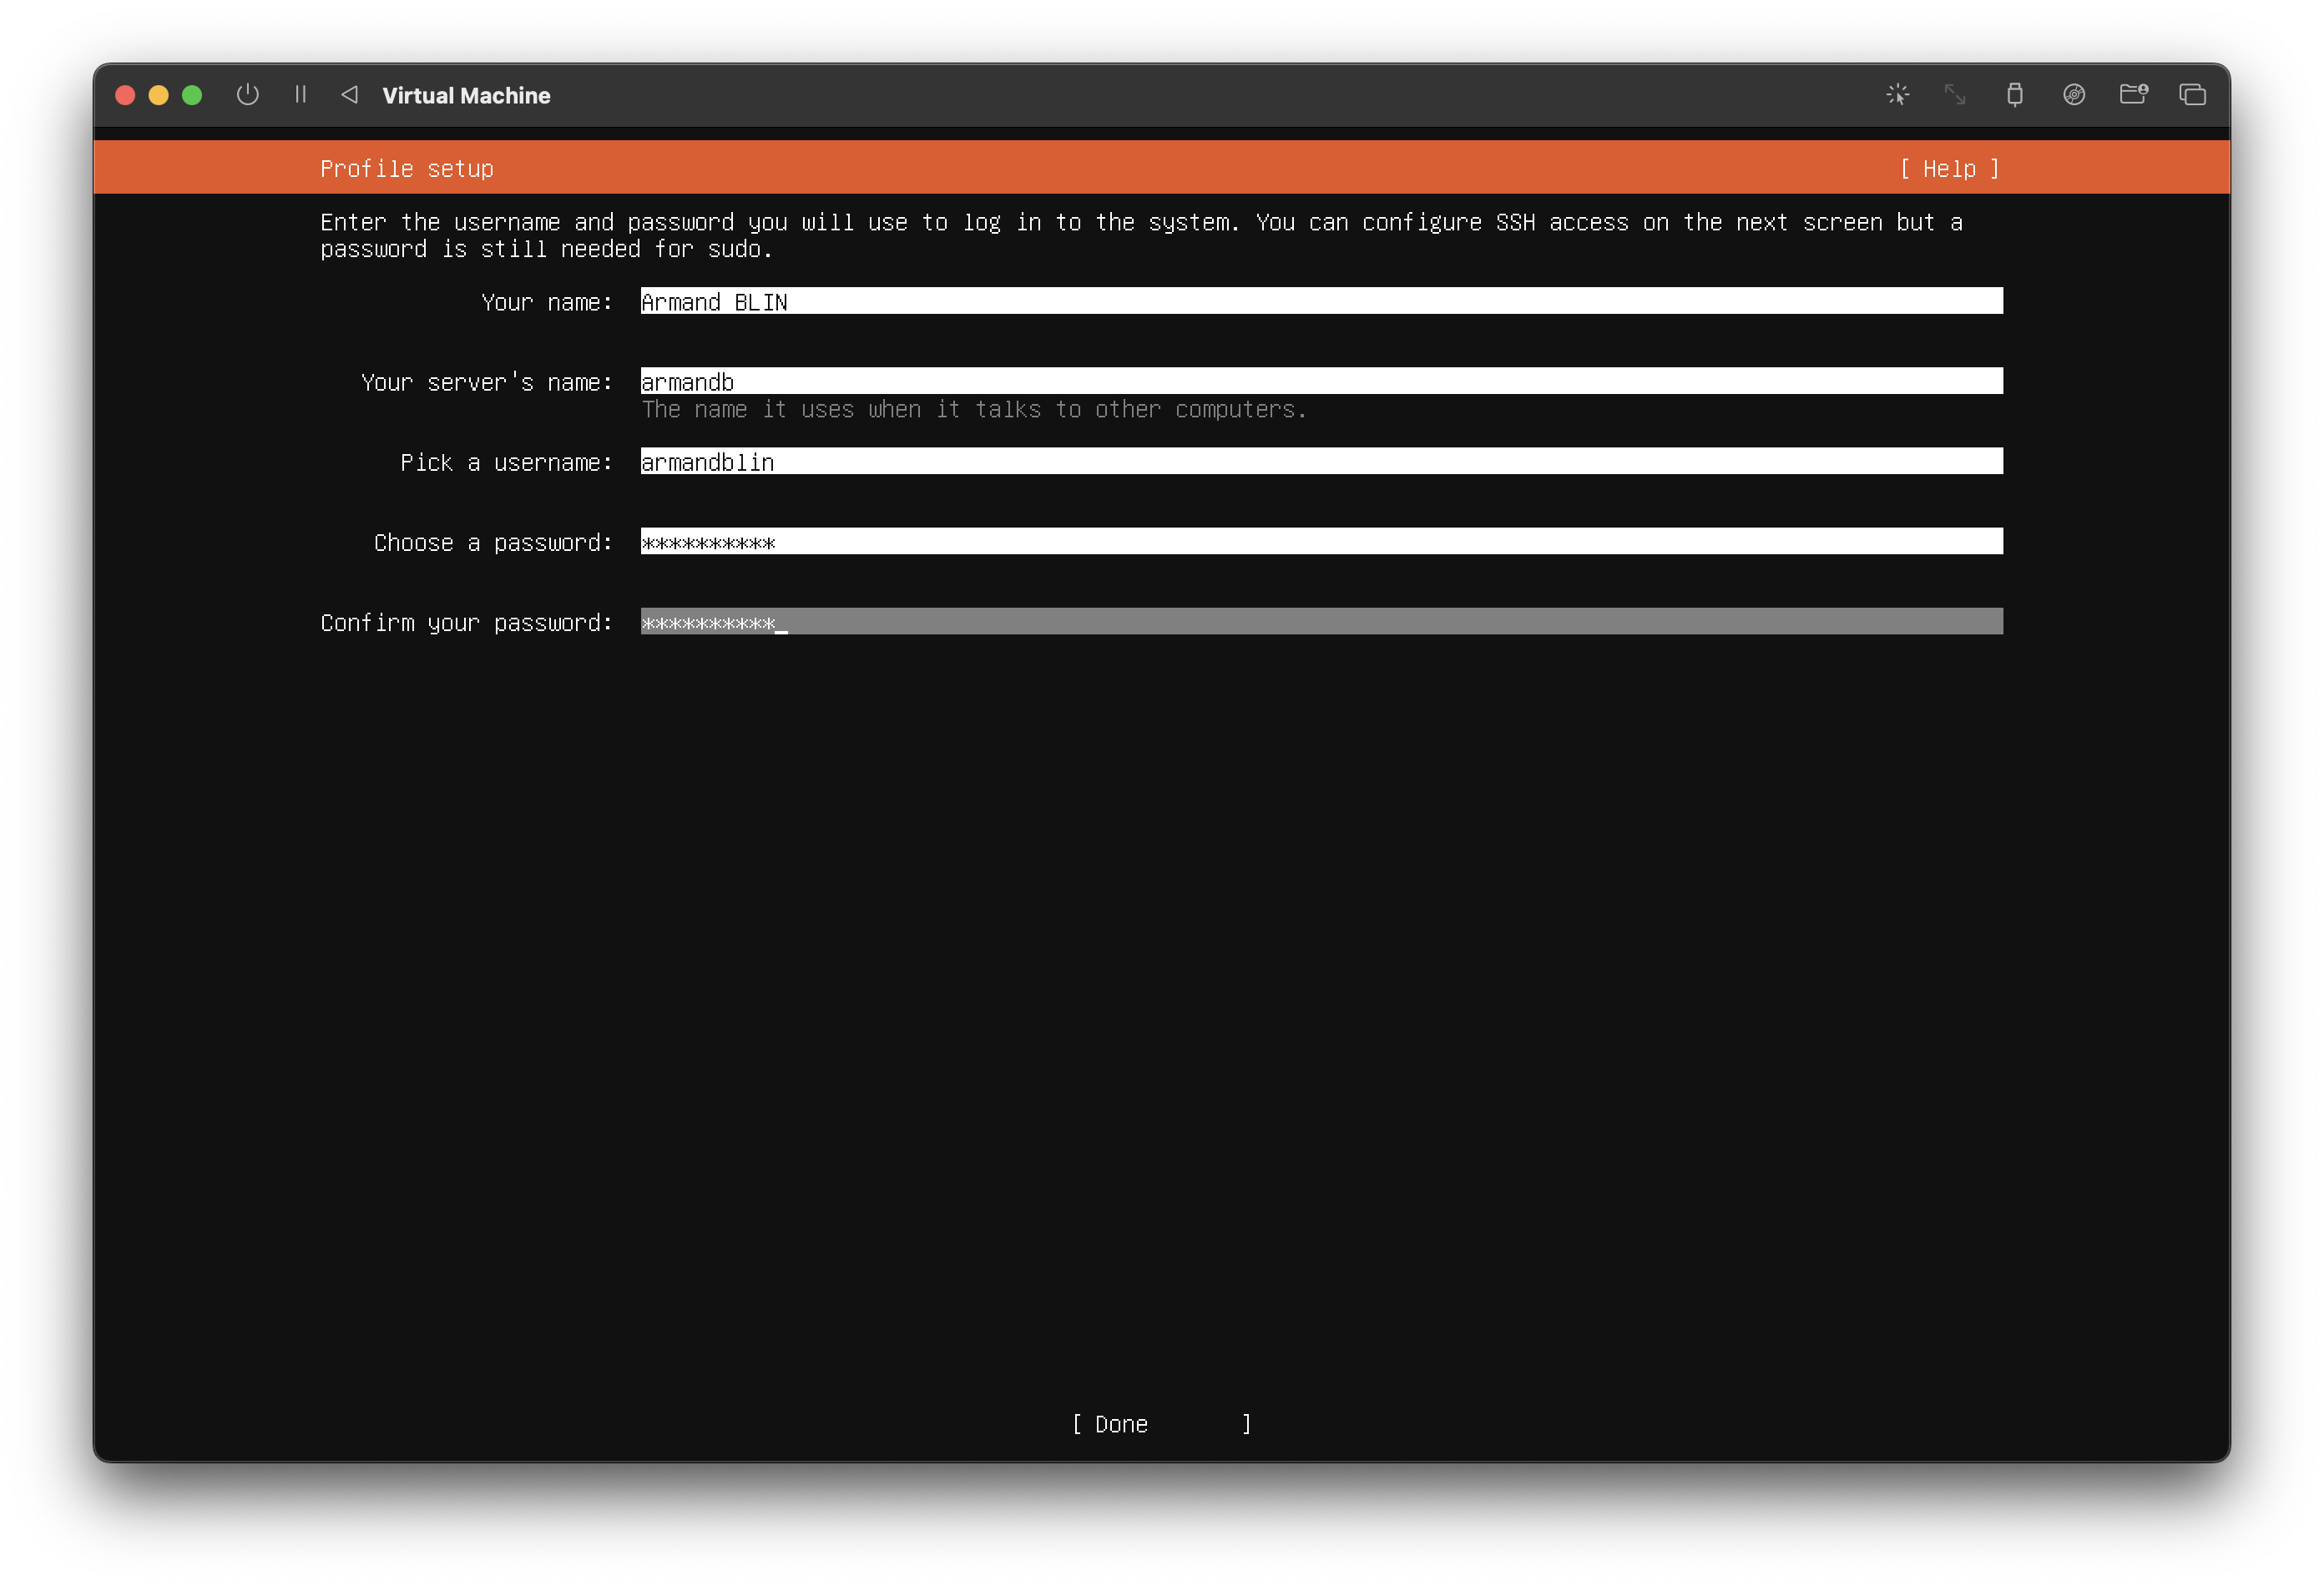
You can now add your VM information.
- Click on next for the
Ubuntu Protab.
You're now on the SSH Setup tab.
- Press space to check
SSH serverinstallation.
You are now on the Featured Server Snaps tab.
- Click next.
You should see a window with Installing the system.
The installation process is a bit slow...
-
You can then click on
Reboot Now. -
When you see the error message
Unable to unmount, stop your VM. Then go to the UTM interface and click on CD/DVD. Then click onClear. -
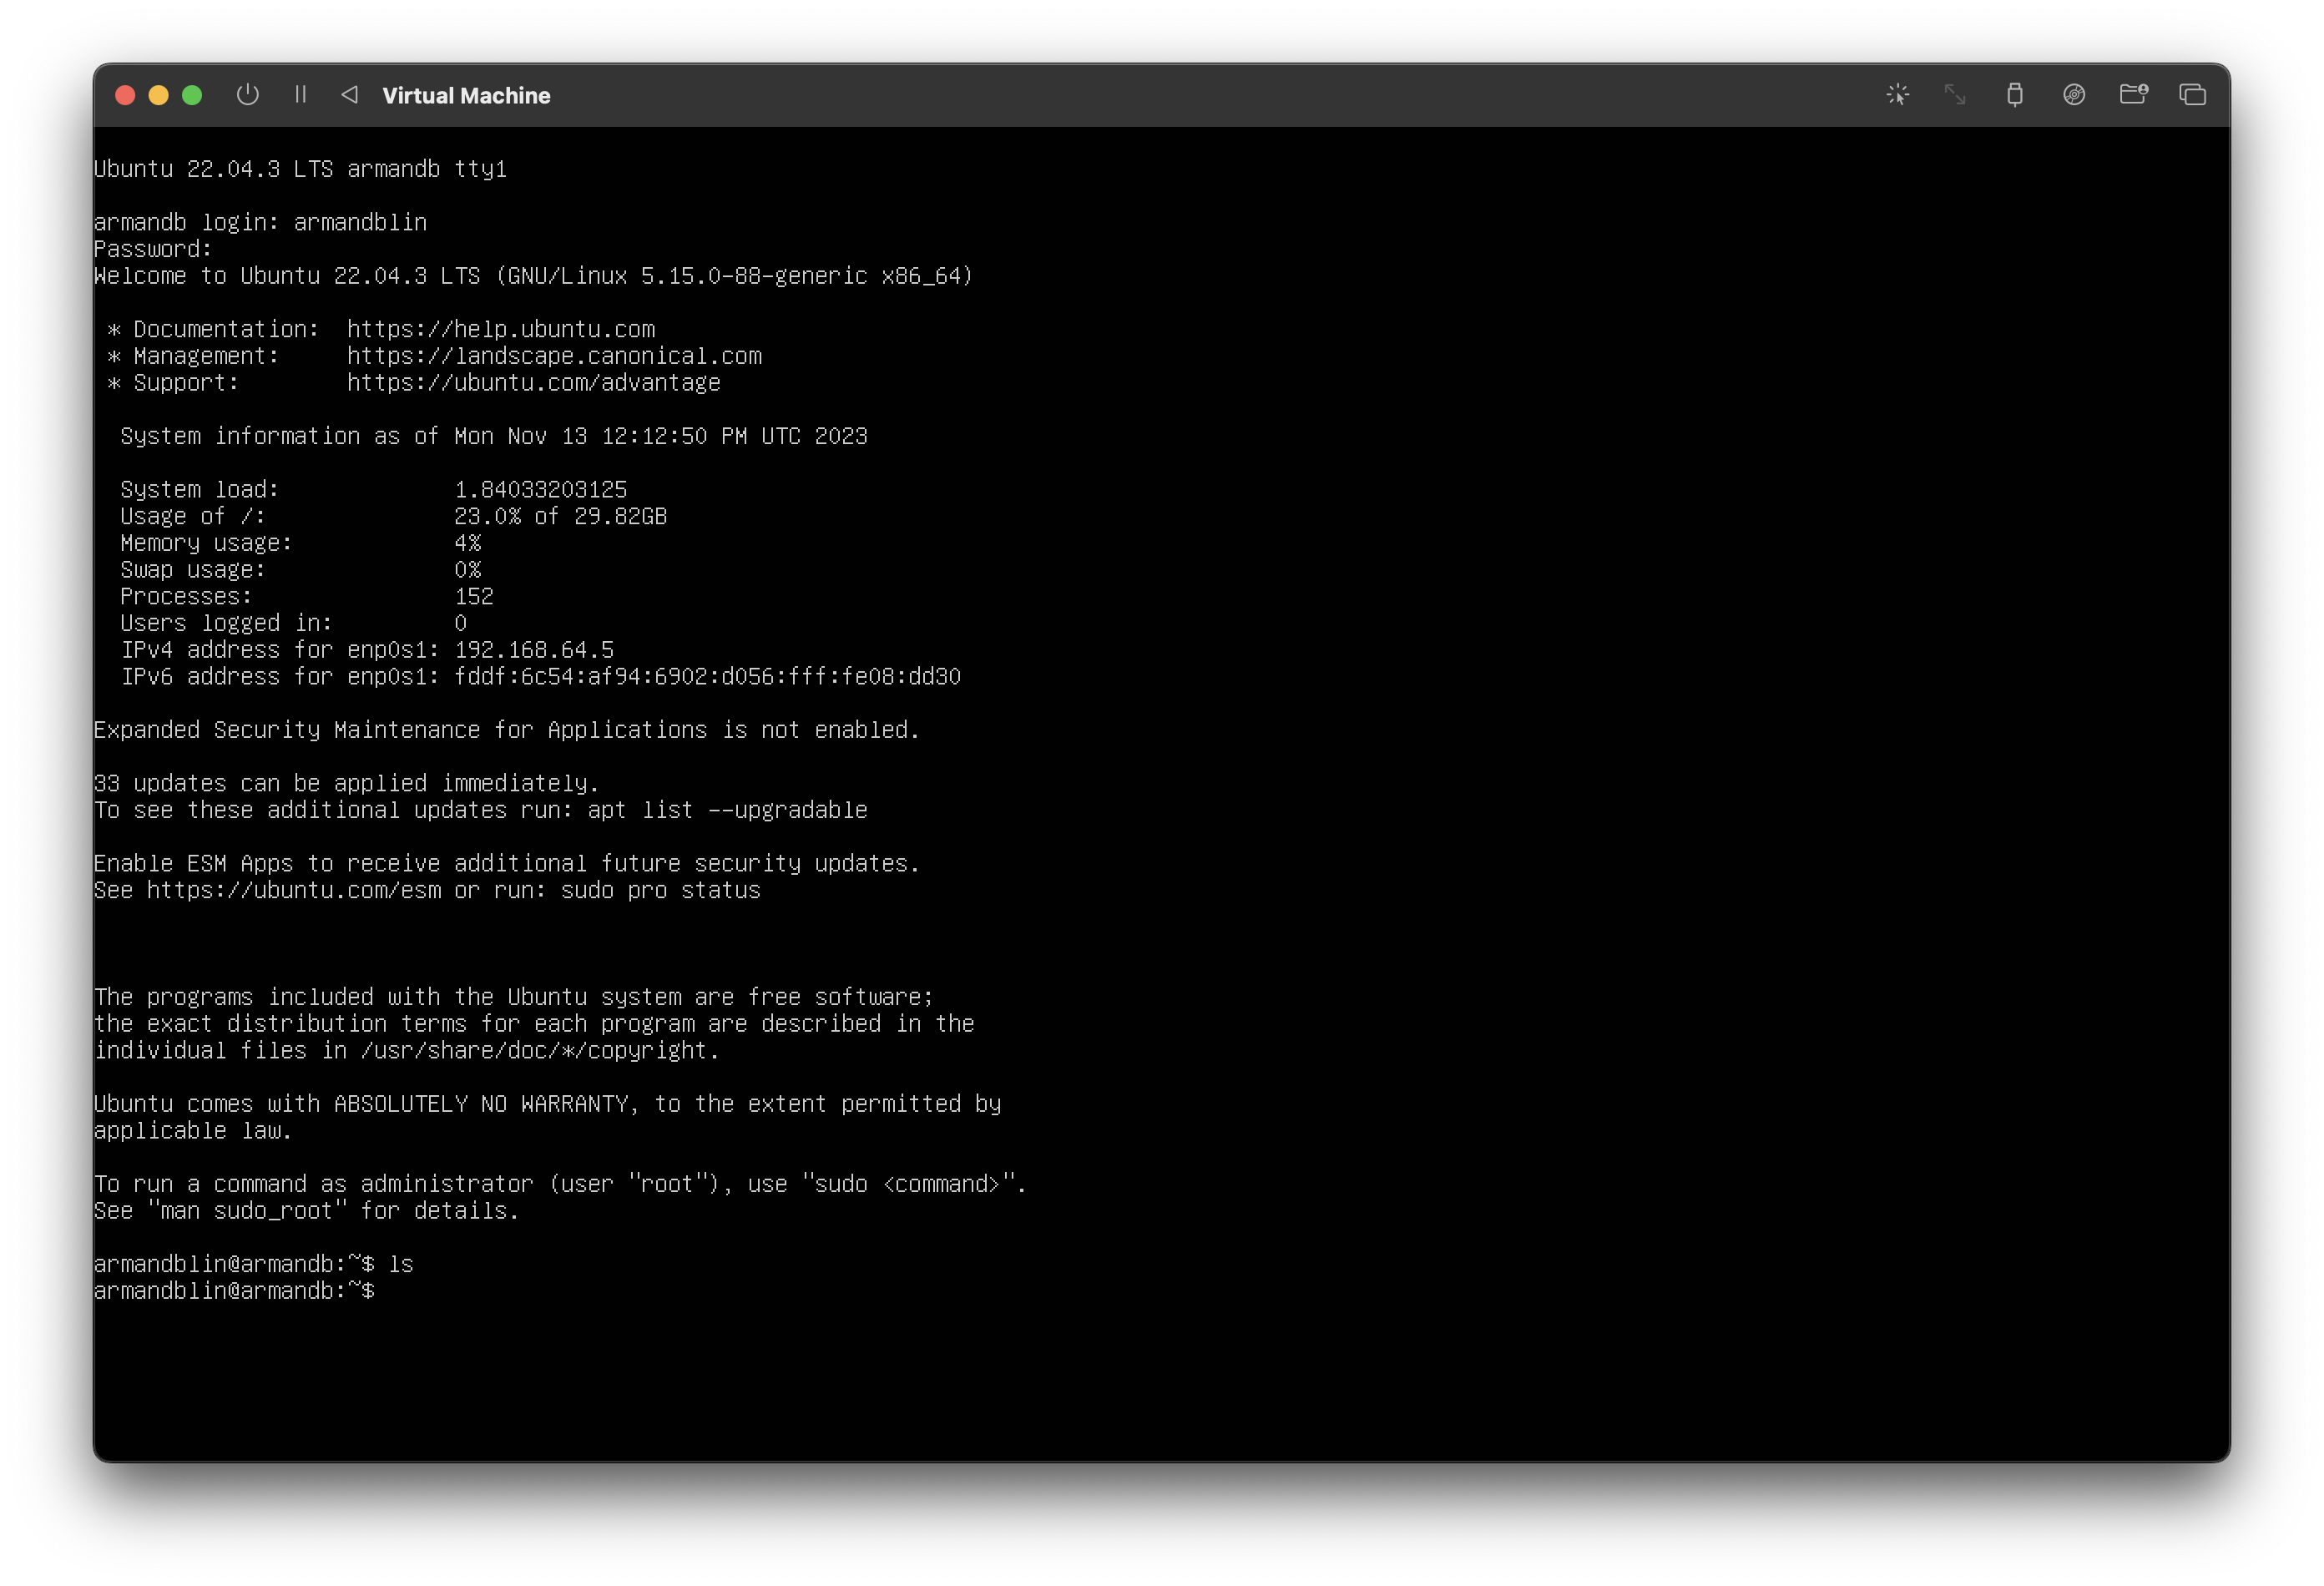
You can restart your VM and connect to your new VM.

Connect VS Code to your VM
-
Add an SSH key to your VM.
-
Stop your VM.
-
On UTM, click on
EditthenNetwork. -
Change the
Network Modefield toEmulated VLAN. -
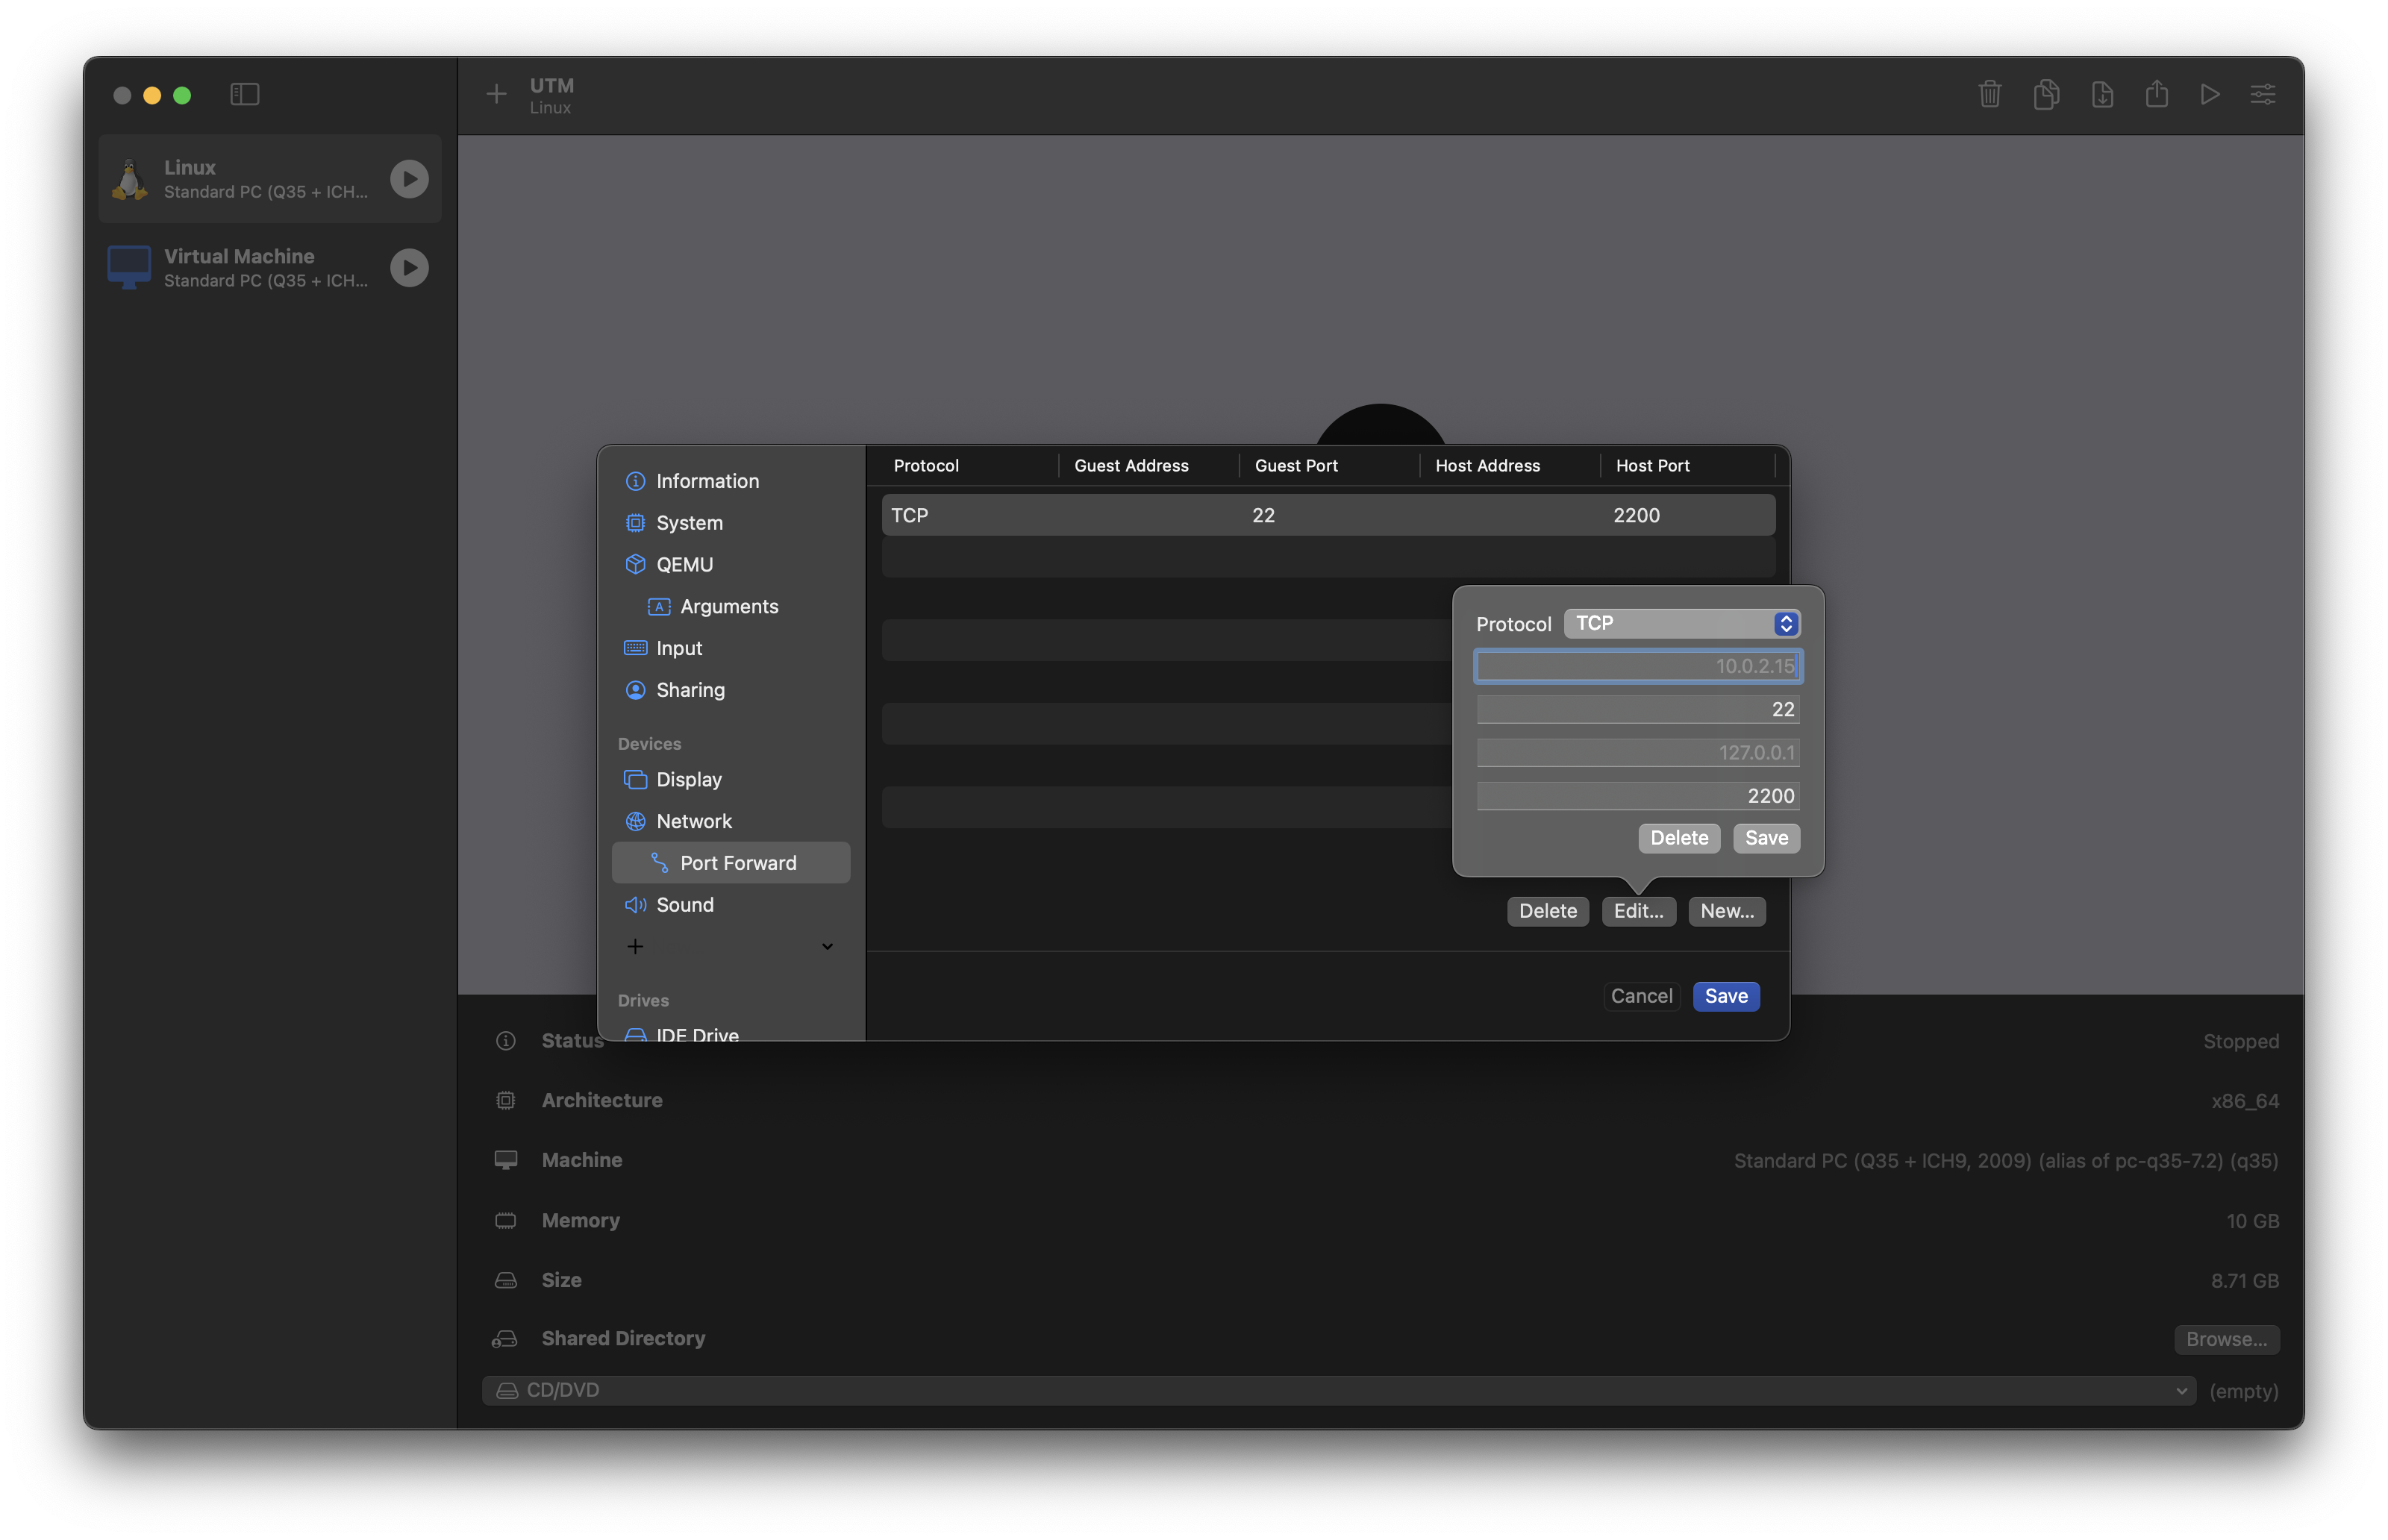
You'll see
Port Forwardin the navigation bar. Click on it. -
Enter the following information:

-
Install the
Remote Explorerextension on VS Code: Click here -
You'll see
Remote Explorerin the navigation bar. Click on it. -
Add a new SSH connection with field
ssh <username>@127.0.0.1 -p 2200. Replace<username>with theserver's namefield entered in the menu (here). -
You'll need to enter your password to connect to your VM.
-
You now have access to your VM's terminal from VS Code and can compile your projects with an x86_64 architecture!
Sources
For any question you can contact me on Discord: armandb.
